Table of Contents
Filipino Snacks: How to Make Turon
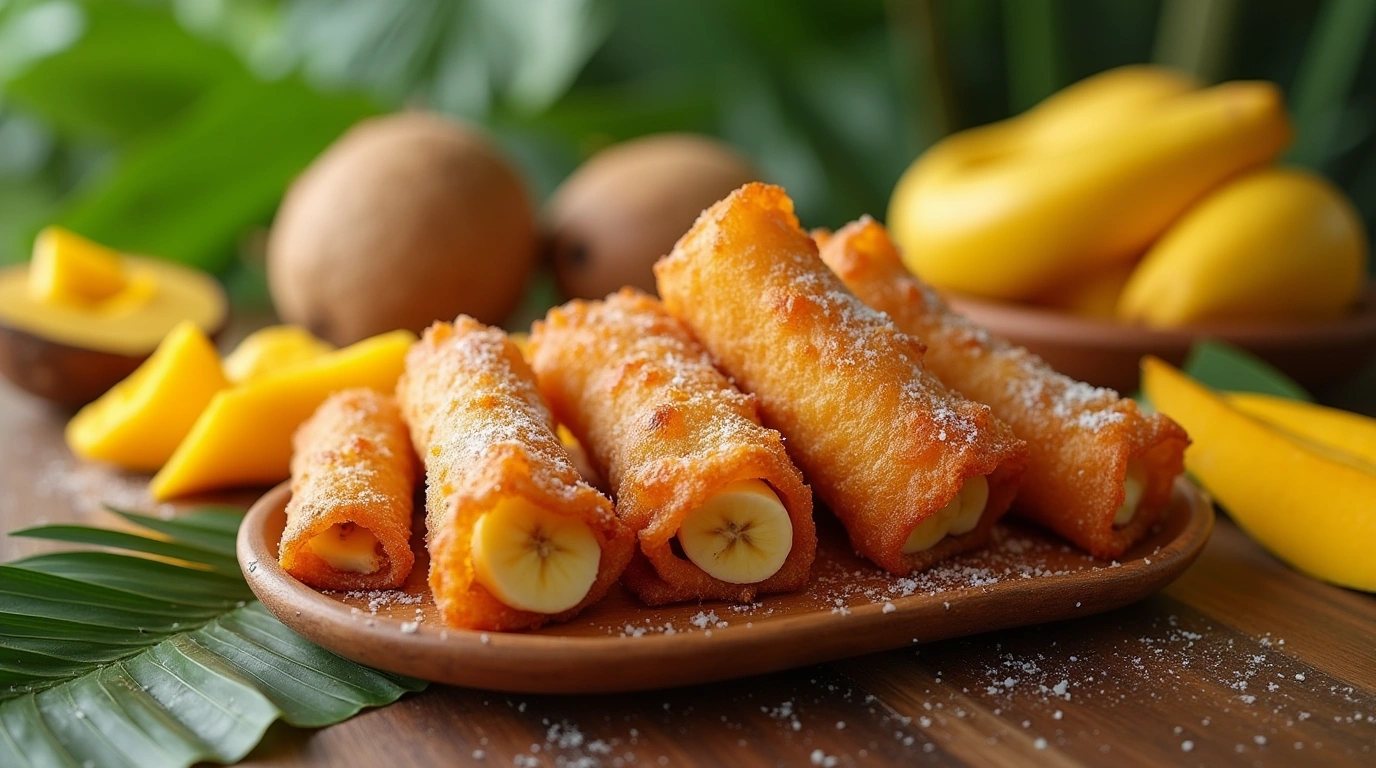
If you’ve ever tasted a snack that combines the sweetness of tropical fruits with the comforting crunch of fried goodness, then turon might just be your new favorite treat. This delightful Filipino snack is as simple as it is irresistible—wrapped in golden brown lumpia wrappers and filled with ripe bananas and jackfruit, turon offers a creamy, juicy bite that’s hard to resist. Imagine this: on a lazy Sunday afternoon, I was visiting my grandmother when she handed me one of her freshly made turons straight from the frying pan. The aroma alone was enough to make my mouth water, but the first bite? Pure magic! It’s no wonder why turon has been a beloved street food for generations.
What makes turon truly special is its accessibility—it requires minimal ingredients, takes less than 15 minutes to prepare, and is perfect for sharing with family or friends. Whether you’re hosting a casual gathering or simply craving something sweet after dinner, turon fits the bill perfectly. For those who enjoy experimenting in the kitchen, think of it as an easier version of another fan-favorite recipe we’ve covered before: lumpiang shanghai. While both dishes use lumpia wrappers, turon swaps out savory fillings for fruity ones, making it lighter yet equally satisfying. So grab your apron and let’s dive into this easy-to-follow guide—you won’t regret it!
What is Turon?
Ah, turon—what a wonderfully quirky name for such a delectable treat! Have you ever wondered why this little banana-filled delight got its moniker? Well, legend has it that “turon” comes from the word “turón,” which means “turnover” in Spanish. But isn’t it funny how Filipinos always find ways to add their own twist to things? Instead of turning over dough like traditional turnovers, we wrap up bananas and jackfruit in crispy lumpia wrappers and fry them until golden brown. Talk about reinventing the wheel! And speaking of wheels, there’s an old saying that goes, “The way to a man’s heart is through his stomach.” If that’s true, then turon must be the express lane because it’s impossible not to fall in love with its gooey center and crunchy exterior.
So why wait? Try your hand at making turon today—you’ll see what all the fuss is about!
Why You’ll Love This Turon
There’s so much to adore about turon, starting with its main highlight: the perfect harmony between ripe bananas and tangy jackfruit wrapped in a golden, flaky crust. Not only does turon satisfy your sweet tooth, but it also saves you money compared to buying pre-made snacks at the store. With just a few affordable ingredients, you can whip up a batch in under 20 minutes, leaving more room in your budget for other culinary adventures. Plus, the toppings are where turon really shines—drizzling melted caramelized sugar over each piece adds a sticky-sweet finish that elevates the whole experience.
Compared to lumpiang sariwa (a fresh spring roll), turon may seem simpler, but don’t let that fool you. Its straightforward preparation doesn’t mean it lacks flavor; instead, it highlights the natural sweetness of its core ingredients. Ready to discover why everyone raves about turon? Let’s get started!
How to Make Turon
Quick Overview
Turon is a breeze to make, even for beginners. Its simplicity lies in the fact that you only need three main ingredients: ripe bananas, jackfruit strips, and lumpia wrappers. Once assembled, these components transform into a crispy, golden snack bursting with tropical flavors. Best of all, the entire process takes around 15 minutes, making it ideal for last-minute cravings or unexpected guests. Now, let’s break it down step by step.
Key Ingredients for Turon:
Here’s everything you’ll need to create delicious turon at home:
- Ripe Saba Bananas : 4 pieces, sliced lengthwise
- Jackfruit Strips : ½ cup (optional)
- Lumpia Wrappers : 8 sheets
- All-Purpose Flour : 2 tablespoons (mixed with water to form a paste)
- Vegetable Oil : For frying

Step-by-Step Instructions:
Step 1: Prepare Your Filling
Peel and slice the saba bananas lengthwise. If using jackfruit, drain any excess liquid and set aside.
Step 2: Assemble the Turon
Place a lumpia wrapper flat on a clean surface. Lay one banana slice along the edge closest to you. Add a few jackfruit strips if desired. Fold the bottom corner of the wrapper over the filling, then fold in the sides like an envelope. Continue rolling tightly until you reach the end. Seal the edge with a dab of a flour-water mixture.
Step 3: Fry Until Golden Brown
Heat vegetable oil in a deep skillet over medium heat. Once hot, gently place the assembled turon into the oil. Fry for about 2–3 minutes per side, flipping occasionally, until golden brown and crispy. Remove with a slotted spoon and drain on paper towels.
Step 4: Drizzle with Caramelized Sugar (Optional)
For extra decadence, melt a tablespoon of white sugar in a small pan over low heat until it turns amber. Carefully drizzle the syrup over the fried turon while still warm.
What to Serve Turon With
While turon is heavenly on its own, pairing it with complementary items can elevate your snacking experience. Here are some suggestions:
- Cold Milk or Coffee A glass of cold milk or a steaming cup of coffee balances the sweetness beautifully.
- Ice Cream: Top your turon with a scoop of vanilla ice cream for a dessert-inspired treat.
- Fresh Fruit Salad Combine mangoes, pineapple, and strawberries for a refreshing contrast.
- SaSago’tGulaman: Cool off with this classic Filipino drink to balance the richness of turon.
Top Tips for Perfecting Turon
- Use Ripe Saba Bananas: Overripe bananas yield softer textures and richer flavors.
- Seal Wrappers Properly Ensure the edges are sealed tightly to prevent oil from seeping in during frying.
- Adjust Oil Temperature: Keep the oil between 350°F and 375°F to achieve crispiness without burning.
- SubstitJackJackfruit: Can’t find jackfruit? Use langka-flavored chips or omit them entirely.
- Avoid Overcrowding: Fry the turo in batches to maintain consistent cooking temperatures.
Storing and Reheating Tips
Leftover turon can stay fresh for up to two days if stored properly. Here’s how:
- Refrigeration: Allow cooked turon to cool completely before placing it in an airtight container. Store in the fridge for up to 48 hours.
- FFreezing:Wrap individual pieces in plastic wrap, then place them in a freezer-safe bag. They’ll keep for up to three months.Reheating:
- Reheating : To reheat, microwave for 20–30 seconds or bake at 350°F for 5–7 minutes until heated through. Alternatively, shallow-fry briefly to restore crispiness.
Now that you know everything there is to know about turon, what are you waiting for? Dive into this quintessential Filipino snack and share the joy with loved ones!
This Recipe Broke the Internet… Did It Work for You?
There are no reviews yet. Be the first one to write one.